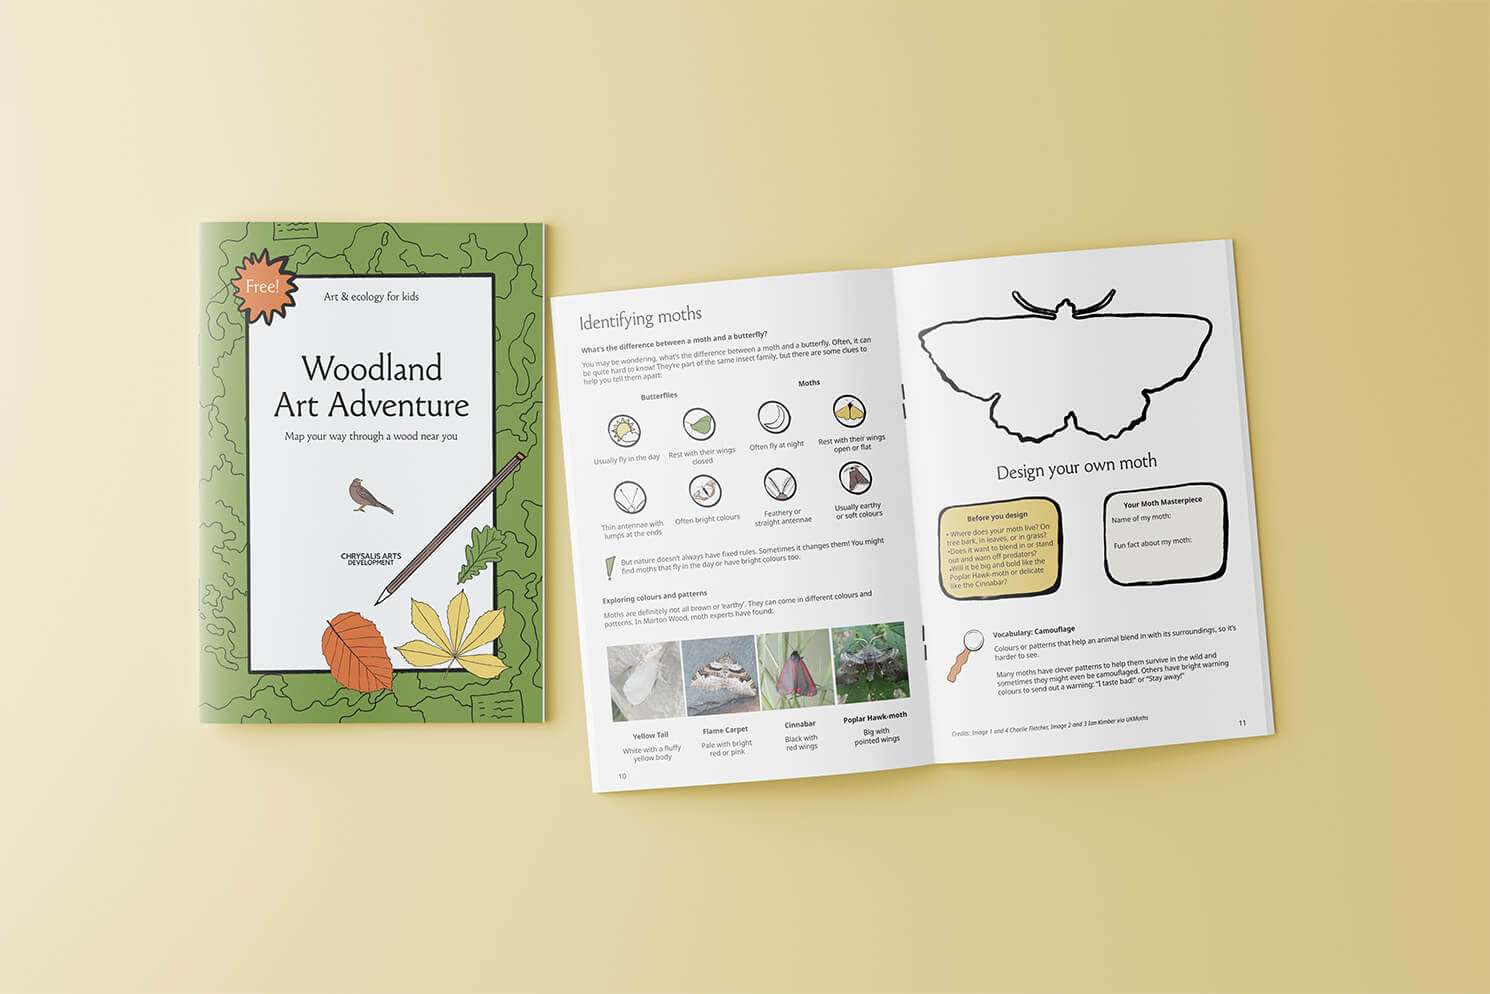
The school holidays are upon us. And while it’s off to a wet start, August is a fantastic month to get outside with the young people in your life and explore. Our Art and Nature Activity Pack is full of ideas to do just that. To get you inspired, here is an excerpt from one activity below.
Did you know you can use plants, leaves, flowers and grasses to make beautiful prints from nature? This technique is called ‘Nature Printing’ as you are using items from nature to create an image.
You might want to use these prints to make a record of a walk you have taken, show what’s growing in a particular area or to create a picture or pattern.
You can find the full video workshop here.
Nature Printing
You will need: A space to get messy, selection of paper, water-based paint or ink, selection of leaves, flowers and other natural objects, either ink rollers or paintbrushes, and a hand-baren (or spoon or other flat / softly rounded object)
Step 1: Go for a walk and collect your your leaves and plant material - the fresher the better!
Step 2: Prepare a workspace - it’s going to get messy - and roll up your sleeves.
Step 3: Choose a leaf, hold it by the stem and apply ink or paint to the back of the leaf.
Step 4: Put your leaf onto your piece of paper with the inky side facing down. Carefully place a scrap piece of paper on top. Try not to move the paper or the ink.
Step 5: Apply pressure using a hand-baren, the back of a spoon or another smooth, gently rounded surface - maybe a pebble?
Step 6: Peel the paper away carefully and look at the result.
Have fun printing!


-01.png)